Quick Start Guide
Get your first AI agent up and running in under 5 minutes. This guide will walk you through creating an account, configuring your agent, and deploying it to production.
Prerequisites
Getting Started
Create your account
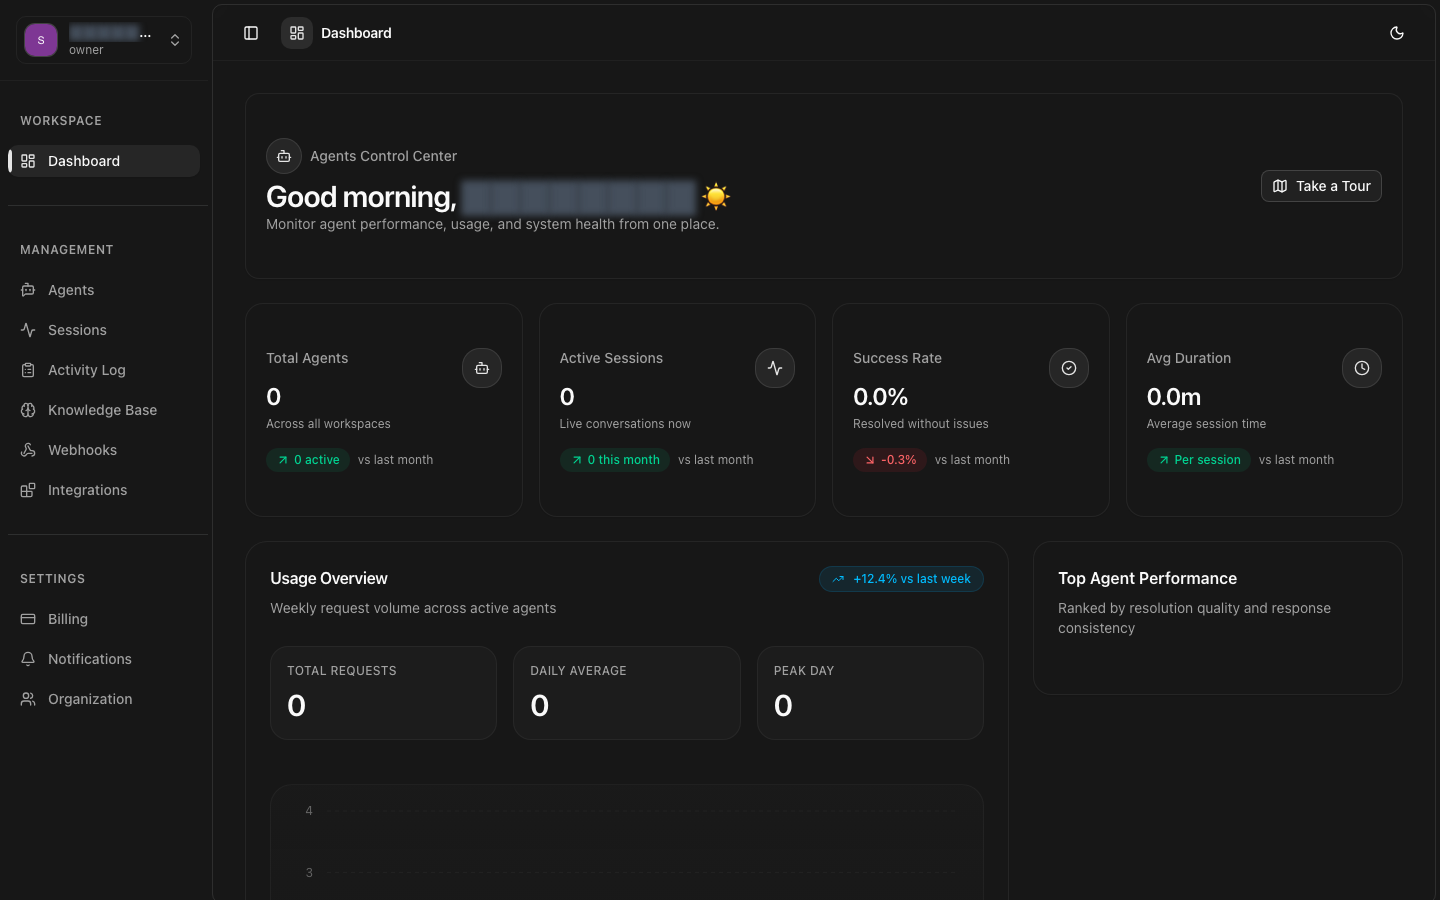
Sign up at app.8bit-ai.com with your email address. Verify your email to activate your account and access the dashboard.
Create your first agent
Navigate to Agents → Create Agent. Give your agent a name and description, then choose an LLM model (GPT-4, Claude Sonnet, etc.).
Configure agent settings
Set up your agent's personality with system prompts, configure voice settings if needed, and connect knowledge bases for contextual responses.
Deploy your agent
Click Deploy to activate your agent. It will be instantly available through the web widget and ready for additional channel integrations.
Test and iterate
Use the built-in web widget to test conversations. Monitor sessions in real-time and refine your agent's configuration based on interactions.
Detailed Walkthrough
1. Sign Up
Visit app.8bit-ai.com and click "Sign Up". Enter your email and create a password.
What happens next:
- You'll receive a verification email
- Click the link to verify your account
- You're automatically logged in to the dashboard
2. Create Your First Agent
From the dashboard, navigate to the Agents section and click "Create Agent".
Basic Information
LLM Configuration
Choose your preferred language model:
- GPT-4 - Best for complex reasoning and long context
- Claude Sonnet - Great balance of speed and capability
- GPT-3.5 Turbo - Fast and cost-effective
System Prompt
Agent Deployed!
5. Test Your Agent
Use the built-in chat interface in the dashboard to test your agent's responses.
Testing Checklist:
- Ask common customer questions
- Test edge cases and unusual inputs
- Verify tone and personality match your brand
- Check response time and accuracy
- Review session logs in the Sessions dashboard
Next Steps
Now that you have your first agent running, explore these advanced features:
Need Help?