WhatsApp Integration
Connect your AI agent to WhatsApp and engage with customers on the world's most widely used messaging platform. The integration uses the official WhatsApp Business API for reliable message delivery, rich media support, and template-based proactive messaging.
Global Reach
Connect with over 2 billion WhatsApp users across 180 countries
Rich Messaging
Send templates, images, documents, and interactive list messages
Official API
Meta-approved integration with end-to-end encryption and compliance
Prerequisites
Before setting up the WhatsApp integration, ensure you have the following:
Required Accounts
- A Meta Business Account (formerly Facebook Business Account)
- A WhatsApp Business Account (WABA) approved by Meta
- A phone number that is not registered with WhatsApp or WhatsApp Business app
- Access to the Meta Business Platform at business.facebook.com
WhatsApp Business API Approval Timeline
Setup Guide
Follow these steps to connect your AI agent to WhatsApp.
Create a WhatsApp Business Account
Set up your WhatsApp Business Account through the Meta Business Platform.
- aGo to the Meta Business Suite
- bNavigate to WhatsApp > Accounts
- cClick Add WhatsApp Account and follow the prompts
- dRegister a business phone number (cannot be used with regular WhatsApp)
- eVerify your business phone number via SMS or voice call
Generate a Permanent Access Token
Create a system user and generate a permanent token for the API.
- aIn Meta Business Suite, go to Users > System Users
- bClick Add and create a new system user
- cAssign the WhatsApp Business Management permission
- dGenerate a Permanent Access Token
- eCopy the token and your Phone Number ID and Business Account ID
Token Security
Store the permanent token securely. It grants API access to your WhatsApp Business Account. Never expose it in client-side code or commit it to version control.
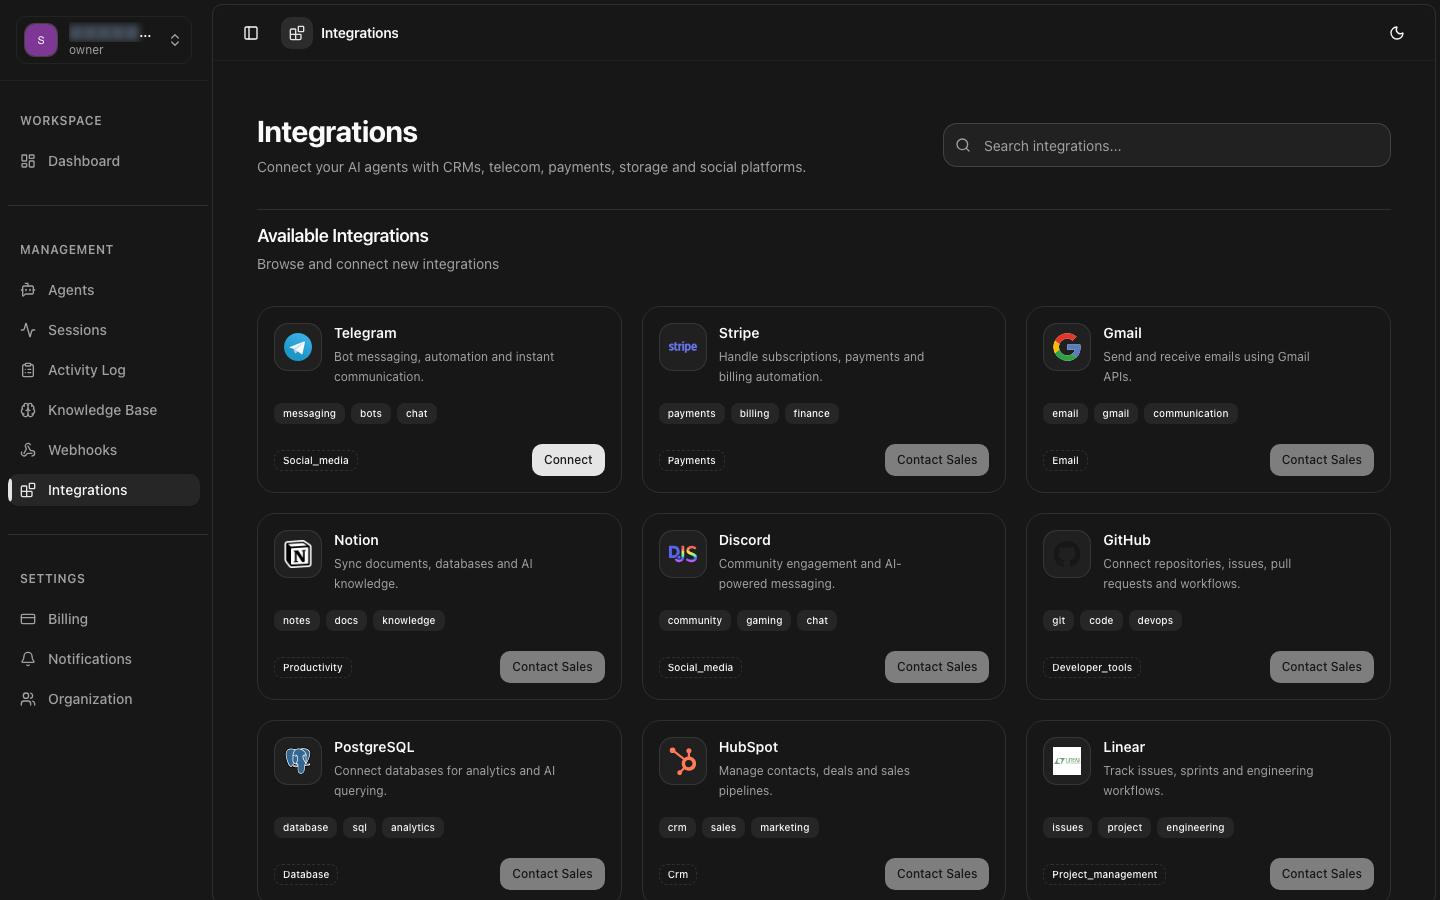
Configure Integration in 8bit-ai
Add your WhatsApp credentials in the 8bit-ai dashboard.
- aNavigate to Integrations in your dashboard
- bClick on the WhatsApp integration card
- cEnter a descriptive name for your integration
- dPaste your Permanent Access Token, Phone Number ID, and Business Account ID
- eClick Connect to save the integration
Link to Agent
Connect the WhatsApp integration to your AI agent.
- aGo to your agent's settings and open the Integrations tab
- bFind your WhatsApp integration under "Available Integrations"
- cClick Add to Agent
- dThe webhook URL will be configured automatically
Automatic Webhook Registration
When you link the integration, 8bit-ai automatically registers a webhook URL with Meta's WhatsApp API. Incoming messages will be forwarded to your agent for processing.
Webhook Configuration
WhatsApp uses webhooks to deliver messages and status updates to your agent. The integration handles webhook verification and payload parsing automatically.
Webhook URL
Generated automatically when you link the integration to an agent:
https://your-domain.com/api/whatsapp/webhook/{agent_id}Webhook Events
The integration subscribes to the following WhatsApp webhook events:
| Event | Description |
|---|---|
| messages | Incoming text, image, document, or interactive messages |
| message_deliveries | Delivery receipts for sent messages |
| message_reads | Read receipts when the user opens a message |
| message_errors | Delivery failure notifications with error codes |
Verification Token
Meta sends a verification request when configuring the webhook. The integration handles this automatically with a securely generated verification token.
24-Hour Messaging Window
Message Templates
WhatsApp requires pre-approved message templates for proactive outreach and messages sent outside the 24-hour customer service window.
Creating Templates
Create and submit templates through the Meta Business Manager. Templates must be approved before they can be sent.
- In Meta Business Manager, go to WhatsApp > Message Templates
- Click Create Template
- Choose a category (Marketing, Utility, or Authentication)
- Define the template content with variable placeholders
- Submit for review (approval typically takes 24-48 hours)
Template Variables
Use {{1}}, {{2}}, etc., for variable substitution:
When sending via the API, provide the variable values as an array:
Template Approval Rules
Testing
Validate your WhatsApp integration before going live.
Webhook Verification
Use the Meta webhook tester or send a test message to verify end-to-end flow:
- Send a WhatsApp message to your business number
- Check that the agent responds within seconds
- Verify the response appears in the WhatsApp chat
- Check the Sessions dashboard for the conversation log
Template Testing
Test approved templates before sending to customers:
- Navigate to WhatsApp > Message Templates in Meta Business Manager
- Find your approved template
- Click Send Test and enter a recipient number
- Verify the rendered template appears correctly
Common Issues & Troubleshooting
Messages not being received
Verify the webhook URL is correctly registered in Meta Business Manager. Check that your agent is in Active status.
Template send failure
Ensure the template is approved and the recipient has opted in. Verify that variable substitutions match the template exactly.
Rate limit errors
WhatsApp API enforces rate limits per phone number. The integration handles retry logic with exponential backoff.
End-to-End Test Checklist
- Send a text message and verify the agent responds
- Send an image message and verify the agent acknowledges it
- Verify conversation appears in the Sessions dashboard
- Test message template with sample variable values
- Verify delivery receipts appear (delivered/read)